How to Wire a 3-Way Toggle Switch
Complete Installation Guide by Goboll Electronics
⚠️ SAFETY FIRST
Always turn off power at the circuit breaker before beginning any electrical work. Use a voltage tester to verify power is off. If you're not comfortable with electrical work, consult a licensed electrician.
What You'll Need
Tools Required
- Wire strippers
- Screwdriver set
- Voltage tester
- Wire nuts
- Electrical tape
Materials Needed
- Two 3-way toggle switches
- 14-3 or 12-3 cable (with ground)
- Standard 14-2 or 12-2 cable
- Light fixture
- Wire nuts
Understanding 3-Way Switches
A 3-way switch allows you to control a single light fixture from two different locations. This is commonly used in hallways, stairways, and large rooms where you need convenient access to lighting controls from multiple points.
Switch Terminals
Each 3-way switch has three terminals: one common (COM) and two travelers
Wiring Path
Power flows through switches via traveler wires to control the light
Operation
Either switch can turn the light on or off regardless of the other's position
Wiring Diagram
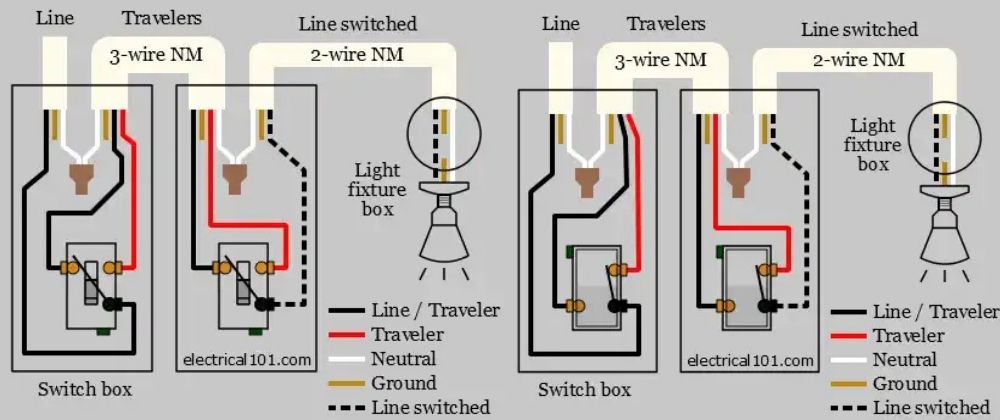
Hot Wire (Black)
Carries power from breaker to first switch
Traveler Wires
Red and black wires connecting both switches
Neutral (White)
Returns current to electrical panel
Ground (Green/Bare)
Safety ground connection
Step-by-Step Installation
Turn Off Power and Test
Locate the correct circuit breaker and turn off power to the circuit. Use a voltage tester to verify that power is completely off at all switch boxes and the light fixture.
Pro Tip: Label the circuit breaker for future reference. Test your voltage tester on a known live circuit first to ensure it's working properly.
Install Switch Boxes and Run Cable
Install electrical boxes at both switch locations. Run 14-3 cable (with ground) between the two switch boxes. Run 14-2 cable from the electrical panel to the first switch and from the second switch to the light fixture.
Wire the First Switch (Power Source)
Connect the hot wire (black) from the electrical panel to the common terminal (usually marked COM or with a different colored screw) on the first 3-way switch.
First Switch Connections:
- • Common terminal: Hot wire from panel (black)
- • Traveler 1: Red wire to second switch
- • Traveler 2: Black wire to second switch
- • Ground: Bare/green wire to ground screw
Wire the Second Switch (Load End)
Connect the wire going to the light fixture (black) to the common terminal on the second 3-way switch. Connect the traveler wires to the remaining terminals.
Second Switch Connections:
- • Common terminal: Wire to light fixture (black)
- • Traveler 1: Red wire from first switch
- • Traveler 2: Black wire from first switch
- • Ground: Bare/green wire to ground screw
Connect Neutral Wires
Connect all white (neutral) wires together using wire nuts. The neutral wire should run continuously from the electrical panel to the light fixture, with connections at each switch box.
Connect Ground Wires
Connect all ground wires (bare copper or green) together and to the ground screws on both switches and the electrical box. Ensure all metal components are properly grounded.
Install Light Fixture
Connect the light fixture according to manufacturer instructions. Typically, connect black to black (hot), white to white (neutral), and ground to ground.
Test the Installation
Turn the power back on at the circuit breaker. Test both switches to ensure they properly control the light fixture. Each switch should be able to turn the light on and off regardless of the other switch's position.
Success Check: If wired correctly, toggling either switch should change the light state (on to off, or off to on).
Troubleshooting Common Issues
Light Won't Turn On
- • Check circuit breaker is on
- • Verify all wire connections are secure
- • Test light bulb in another fixture
- • Ensure common terminals are wired correctly
Light Stays On Constantly
- • Check if hot wire is on wrong terminal
- • Verify traveler wires are not crossed
- • Ensure switches are wired as 3-way, not single-pole
- • Check for short circuits in wire connections
Only One Switch Works
- • Check traveler wire connections
- • Verify both switches are 3-way type
- • Ensure common terminals are identified correctly
- • Test continuity with multimeter
Circuit Breaker Trips
- • Check for short circuits in connections
- • Ensure hot and neutral wires aren't touching
- • Verify proper wire gauge for circuit
- • Inspect for damaged wire insulation
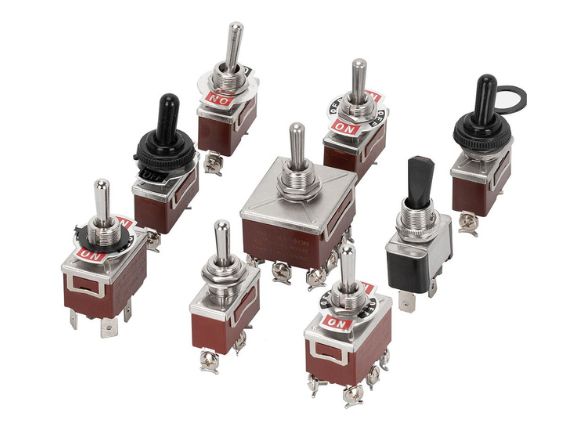
Goboll 3-Way Toggle Switches
Professional Grade Quality
Goboll's 3-way toggle switches are engineered for reliability and durability, featuring UL, VDE, and CE certifications for global safety standards.
- High-quality contacts for reliable operation
- Clear terminal markings for easy installation
- Robust construction for long service life
- Multiple mounting options available
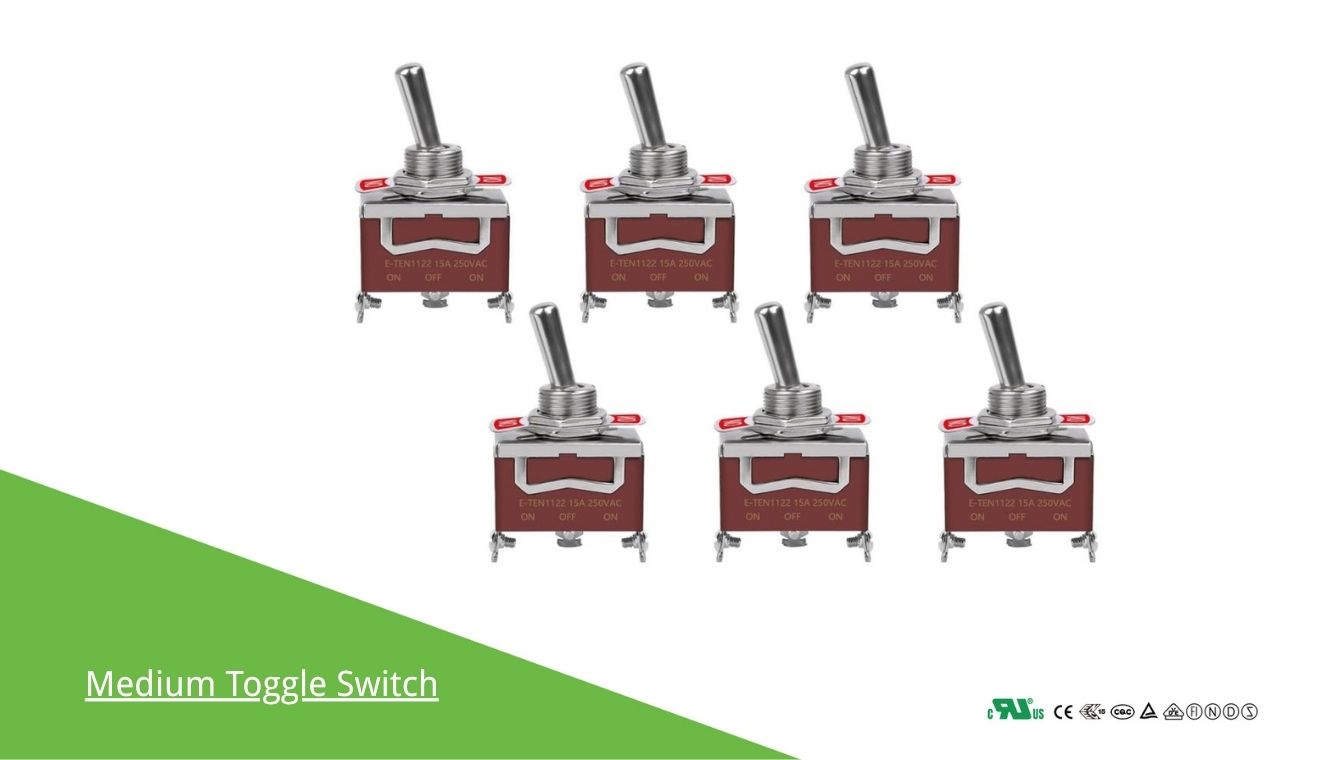
Standard 3-Way Toggle
Classic design for residential and commercial applications
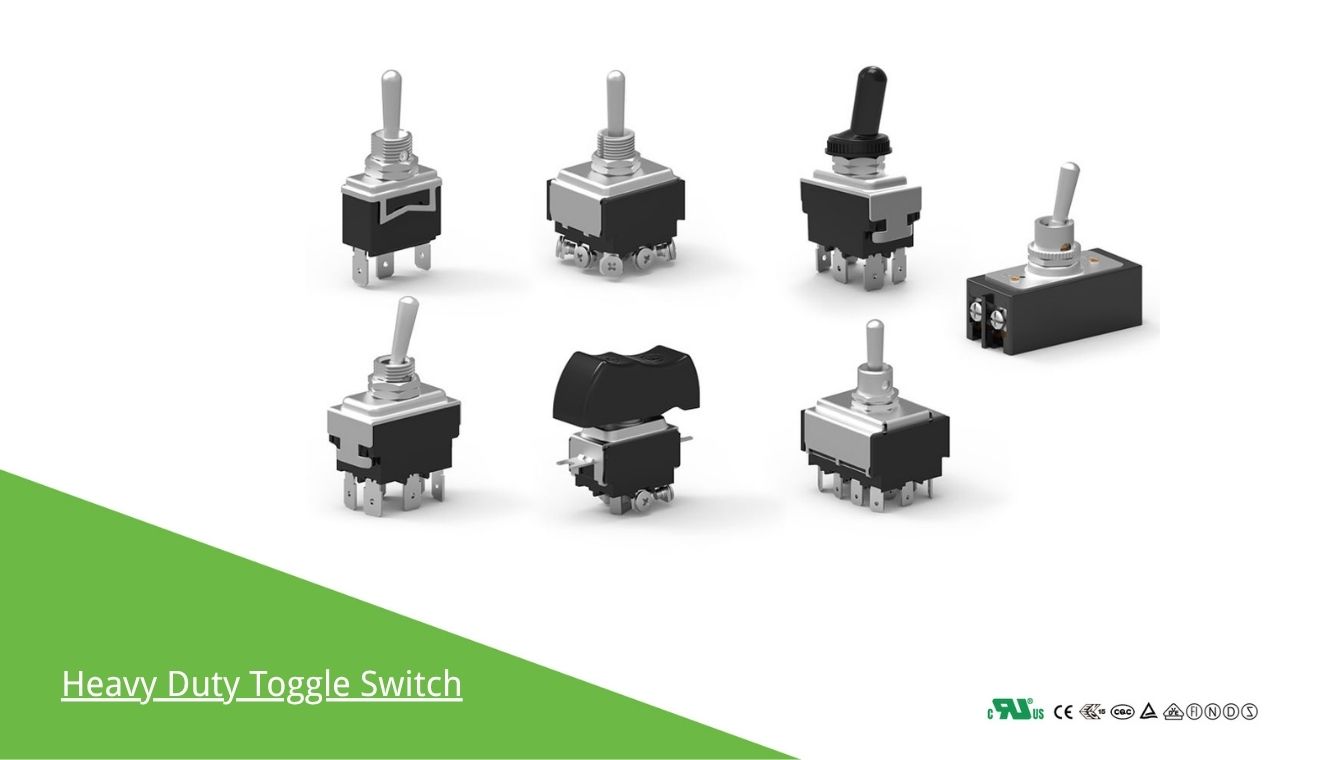
Heavy Duty Toggle
Industrial grade for demanding applications
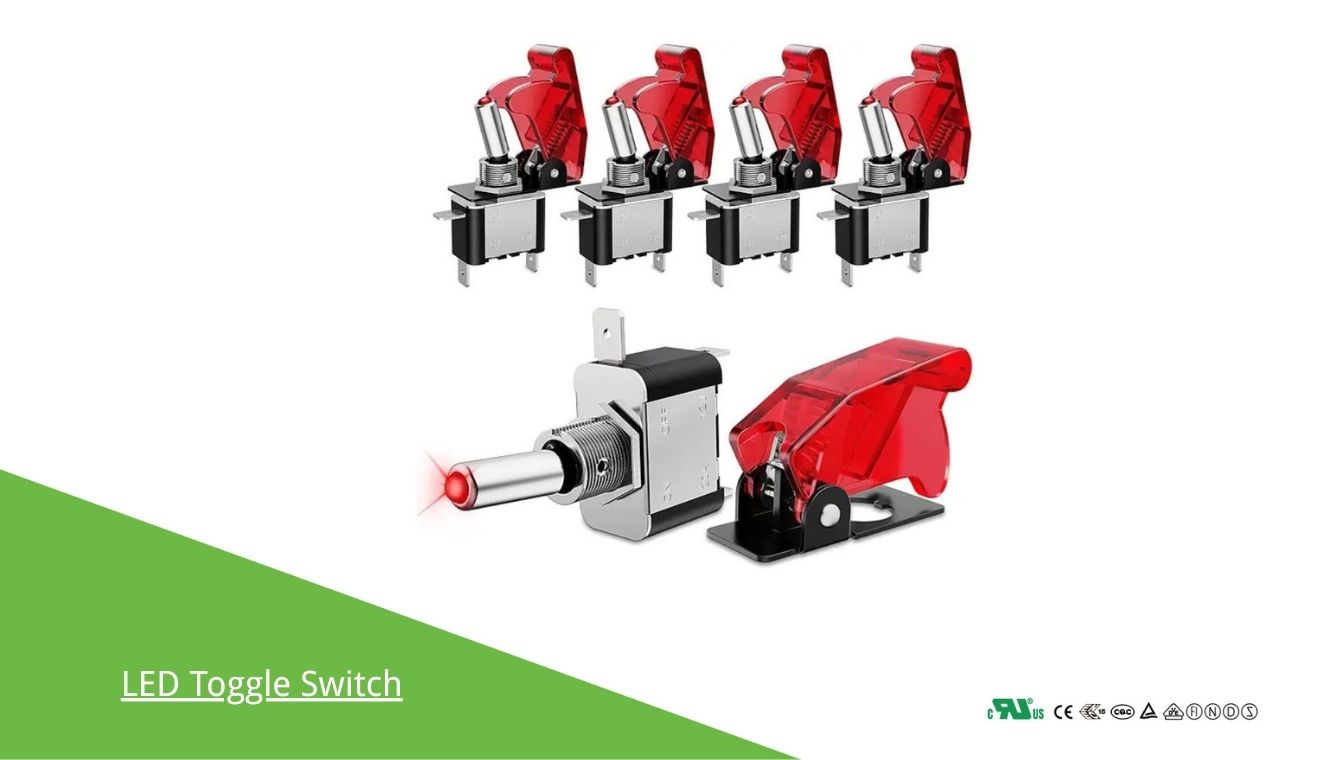
Illuminated Toggle
LED indicator for easy identification in dark
Need Expert Assistance?
Our technical team is ready to help with your switch installation questions
Building 13, Intelligent Industrial Zone No.2777 Ningkang East Road, Yueqing City, Wenzhou, Zhejiang Province, China